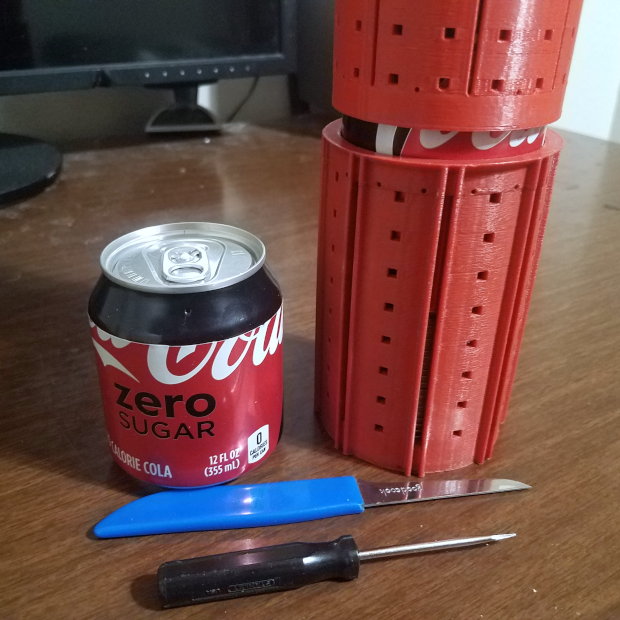
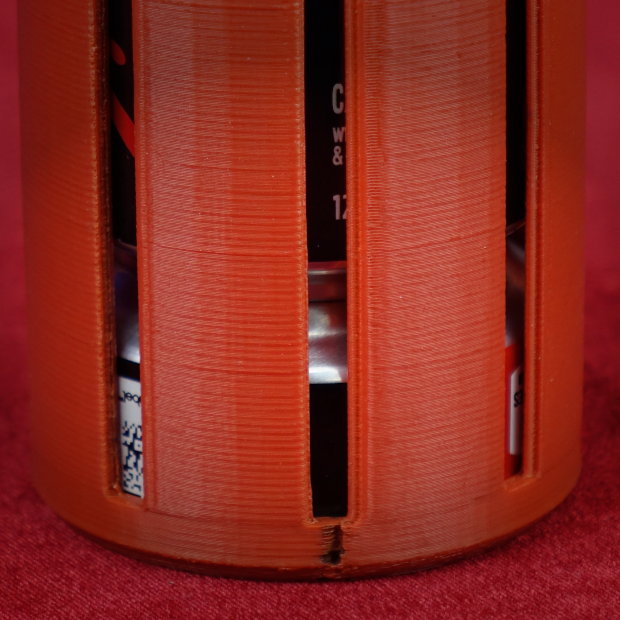
First, prepare the can. Place the sleeve on a table. Insert the first lifter through the sleeve. Drop and lock it into place at the bottom. Push the can fully into the sleeve.
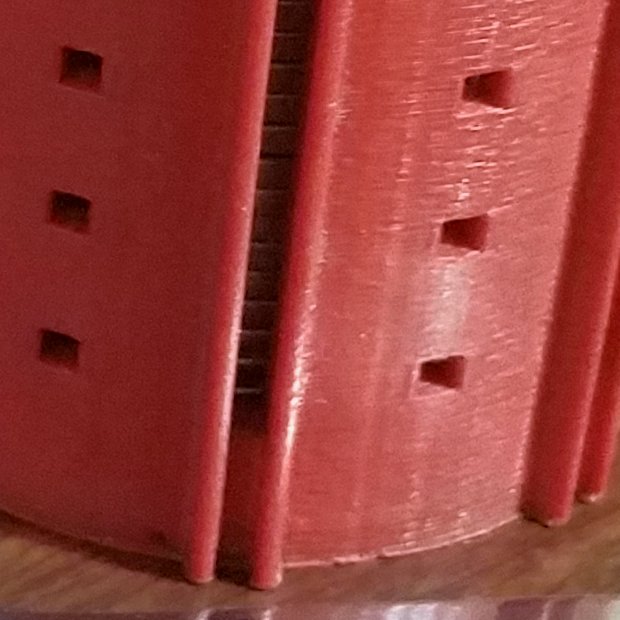
Preferably, to inhibit the can's upward motion, you should lock the can into the sleeve with one or more pushpins that pierce the can's side at the sleeve's top anchor holes.
Preferably, to inhibit the can's rotation, you should lock the can into the sleeve with one or more pushpins that pierce the can's side at the sleeve's top anchor holes. Two pushpins at opposite sides of the can work very well, since they can each bear half the pressure created during your cut. If you go the two-pushpin route, you'll want to twist the can slightly in the direction of your intended motion; then lock it in place further with the second pushpin. This keeps the can snugly in place during during the cut.
If the pushpin holes would clash with your design – or if you find using pushpins to be inconvenient or unnecessary – then you can allow the can to rotate relatively freely when needed so long as you're careful to be pressing gently down on the top of the can while cutting. It's important to keep the can from drifting upward as you use the slider, or else you will get an uneven result. Try to maintain a consistent penetration angle between the slider and the can wall. I find that dragging the bottom of the metal part of the slider along the top ledge of the sleeve does the trick.
Try for smooth motion with steady pressure as you drag the slider around the rim. You may need to wiggle the slider back-and-forth in the sideways direction a bit to re-start a stalled cut. Better yet, if the cut stalls and gives you a bit of resistance, just remove the slider, reinsert it a few millimeters ahead of the stall point, and continue. You'll find it much easier to remove the stall section later, when the top is almost completely off.
As you make your slide, you'll want the slider to always be oriented perpendicularly to the slot – both in its length-direction and its circumferential-direction. The slider should be pointed directly at the central axis of the can, and the imaginary line of the slider should make a 90 degree angle with the axis. This is all easier to do than it sounds.
The last bit of the cut around the circumference of the can must be done carefully. You'll notice that your non-cutting hand folds down the far end of the can top at an angle once you've removed some support material from the other side. This makes the last part more difficult to remove. So, make sure that once you start feeling resistance to the slider, you keep the top of the can parallel to the ground and elevated in its proper original position while still maintaining light downward pressure. (The light pressure is so the remaining bit doesn't elevate slightly out of the can). If this last step is difficult for you, then the easiest thing to do is to stop circling the slider when you feel resistance, tear off the top manually, and use scissors to remove the last remnants.
If any remnants remain from the cut, use the side of the metal part of the slider to crease and flatten the remnants hard against the top rim of the sleeve. They'll be easy to remove after that. If you don't remove all the tiny remnants protruding out from the rim of the can, you'll have difficulty re-inserting the can back into the sleeve if you're needing to remove the bottom.
Be sure to scrape the slider along the inner rim of the can while it's still fully inserted in the sleeve to deburr any sharp edges.
Insert the can into the short sleeve so that the bottom of the can is flush against the table.
You can lock the can to the short sleeve by using the two holes that are positioned on opposite sides of the short sleeve. Insert pushpins through the holes, penetrating both the sleeve and can.
Drop the long sleeve over the can so that it lies flush against the short sleeve. Then use your pushpin to pop a hole in the side of the can just above the upper rim of the long sleeve. When popping the hole, the metal cylindrical shaft of the pushpin should lie flush against the upper rim of the long sleeve as you push into the can. Obviously, you should penetrate the can at a tangent perpendicular to the circle, as shown in the video.
Then insert the tip of your paring knife through the hole you just made. When doing this, don't use the cutting edge of the knife to expand the hole – apply pressure from the dull side so you protect the sharp edge. If the pushpin and knife were properly inserted, the flat side of the paring knife should be resting flat against the rim of the sleeve. Place your finger on the top surface of the paring knife so you are exerting stabilizing downward pressure against the knife.
Now cut along the circumference of the rim. This will take a couple of tries before you get the hang of it. You will be putting lateral pressure against the side of the can, while pressing gently down on the flat of the blade so it's held against the rim of the sleeve.
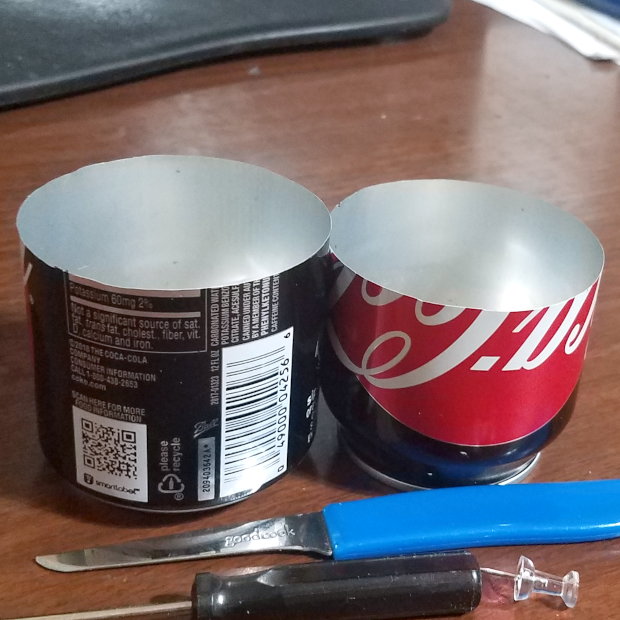
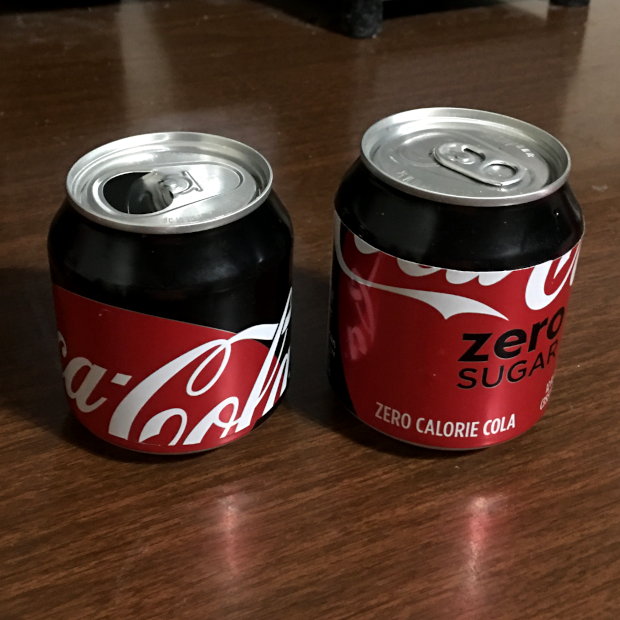
You'll be pushing with the DULL edge of the blade, not the SHARP edge. However, the dull edge of the knife you don't necessarily want to be moving theSometimes you want to make a smaller container by cutting the can in half. The middle section isn't as stiff as the top and bottom ridges, so it is more difficult to slice the can accurately. It helps to brace the area around the cut with two Aluminators, as shown in this photo below, so that you get a clean cut.
Here, I've put in a thick stack of can lids to prop up the can to the correct height, but you could use pushpins to anchor it in place, or you could use a roughly-cut half-can to elevate it to the desired position.
