Secret Hole Technique:
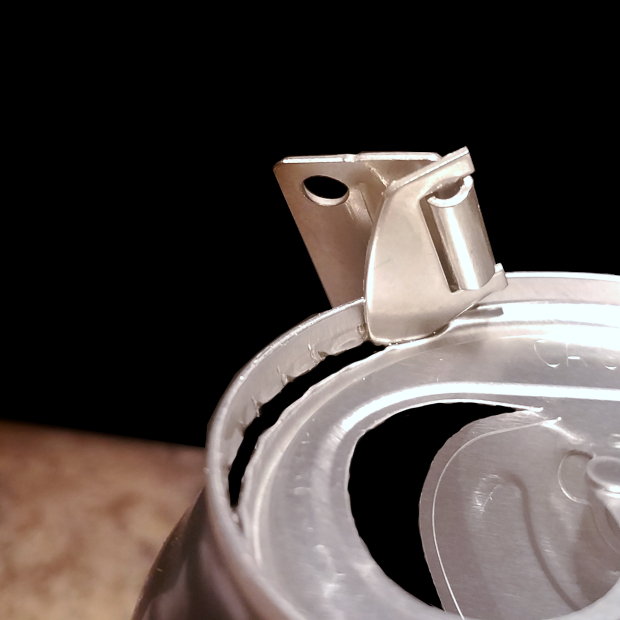
Put the large end of a pushpin into the center of the tab and, using the pushpin head as a knob, rotate the tab 180 degrees around. Use the pushpin to pop a hole or two at the edge of the tab where it meets the raised horizontal bar under the tab. Eventually, after the can is drained, you will rotate that tab back around to conceal the drainage holes you just made.
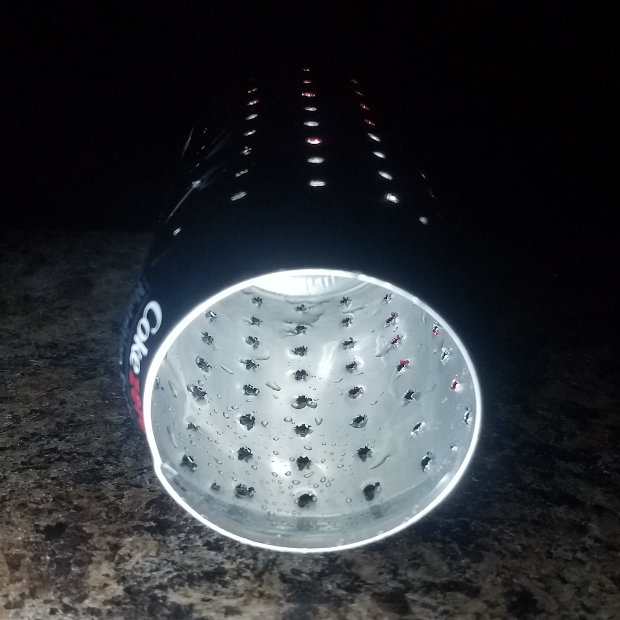
Put the can upside-down into a cup and allow it to drain. To speed drainage, use the pushpin to pop as small an airhole as possible in an inconspicuous place near the bottom outermost lip of the can. This speeds drainage because the outflowing fluid would otherwise create a vacuum in the airspace at the top of the can. That vacuum would inhibit the fluid's outflow. You'll be making the airhole in the the stiffest part of the can, which is the bottom, so do it carefully and safely. It helps to twist the pushpin a bit back-and-forth slowly as you're punching the airhole. This way, you don't have to use as much force to punch-in the airhole. You'll want to use a light touch until you make your inital depression and then twist-push a little harder as you fatigue the metal.
After the can drains as much of its contents as gravity allows, you may want to blow into the bottom hole to drain the last droplets of fluid out, since they won't leave on their own. When you eventually open up the can, rinse it out to remove the sticky soda residue. Residue is typically not an issue for diet sodas, though, so you can skip the rinse for them.
As you can see, the pushpin makes a handy rest for the can-lip to keep the can out of the rising fluid level for a while.
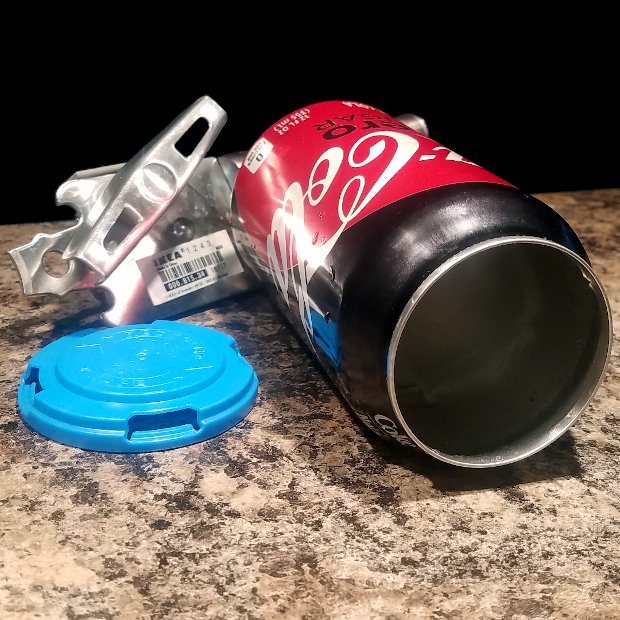
Intact Top Technique:
If you're making a design that requires the top to be intact (the clicker, fidget spinner, coinbank, spinner, checkers, or lifing discs), then obviously you'll have to drain the soda from holes you make in the side or bottom of the can.
In the video above, I'm making a pour-hole in the slanted top of the can with a pushpin, then enlarging it with a screwdriver tip, and then starting my pour. Once the can drains a bit on its own, I make my airhole on the other side of the drainhole, being careful not to dent the opposite side of the can by pressing it into the cup. By covering the airhole with my finger when needed, I can control the speed and volume of the soda outflow.
Can Opener Technique: