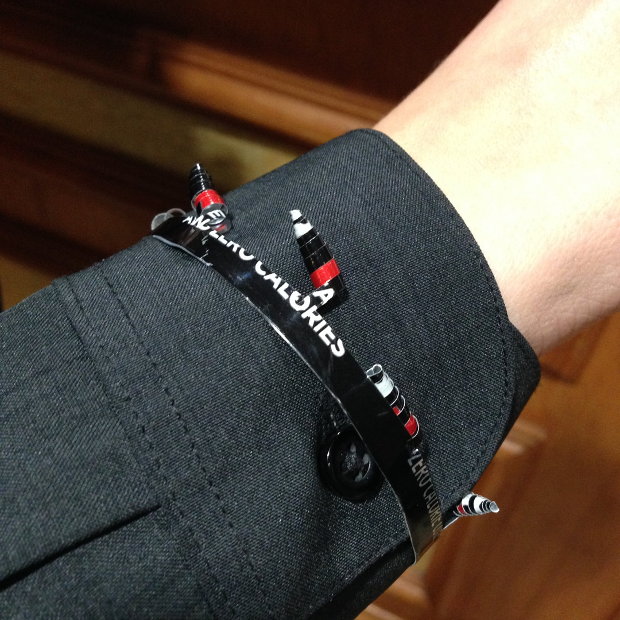
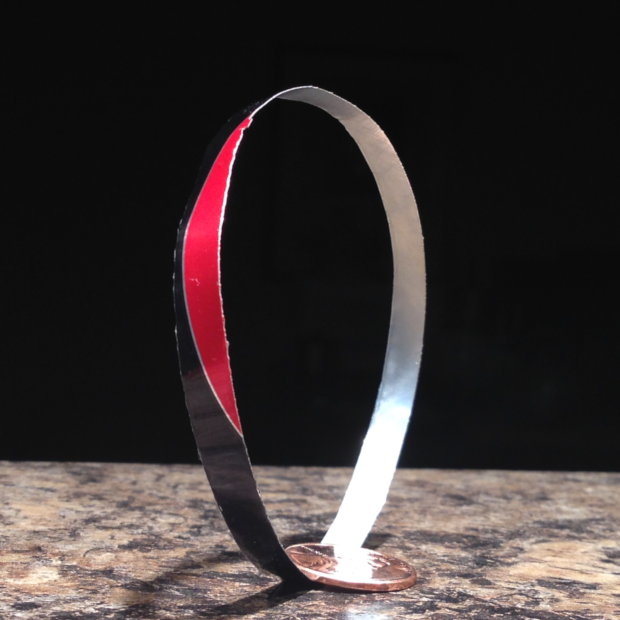
Make an 8-slice can, then scissor off the panels; the bottom part looks like the left-most photo above. Just remove the bottom part with scissors, tape the ends together, and attach your charms to the curlies.
Of course, the charms are only held on by curled metal, so they could easily be pulled off. Don't attach anything to these that you're not prepared to lose.
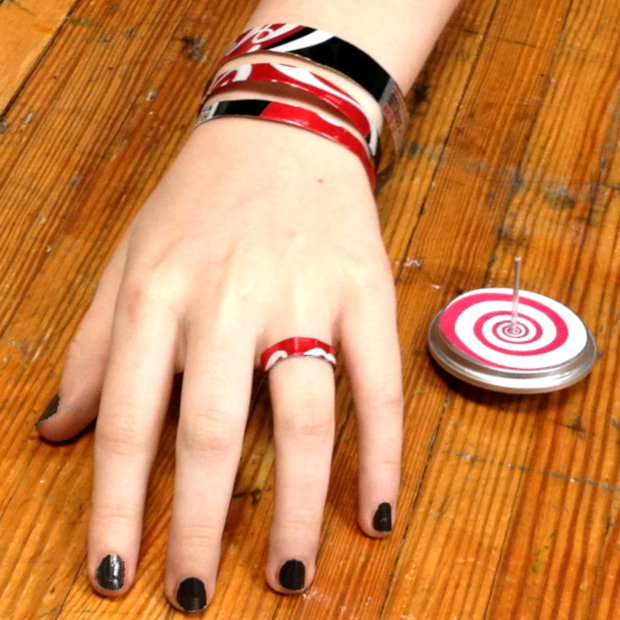
For the simple closed-circle bands, you can remove them from the can just like you remove the top of the can, except that you use your fingers to stabilize the band as you cut away the bottom part with the slider. You'll need a small wrist to make this work, or you'll need to tape together a "bridge" segment to lengthen it.
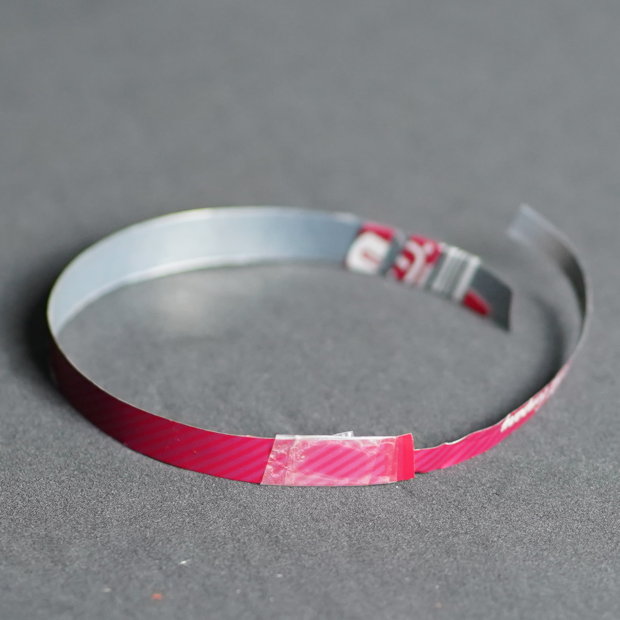
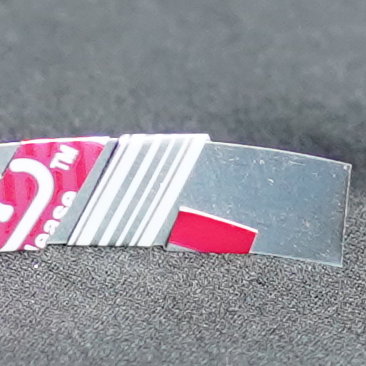
I prefer to make these so that they have no sharp edges. I'll remove a strip and then fold it over in thirds, using the slider as a brace for making 90-degree-bends in the metal first. Using the slider helps me to fold a neat, straight line that bends over only about 4 or 5 millimeters of material. I'll trim any excess hanging over the rounded edge so that only the rounded edge is exposed to the touch on the sides. Then I'll flatten it out using the side of the slider. Once flat, I reinsert it into the sleeve (using gentle bends) and then press the bended bracelet into a smoothly curved shape by smashing it against the inner surface of the sleeve with the slider. For an example, see how I deburr the edge when I remove the bottom or make a rim. Once on the wrist, I tape it closed on the inner-wrist side.
The ring was made essentially the same way the band was made, only on a smaller scale.
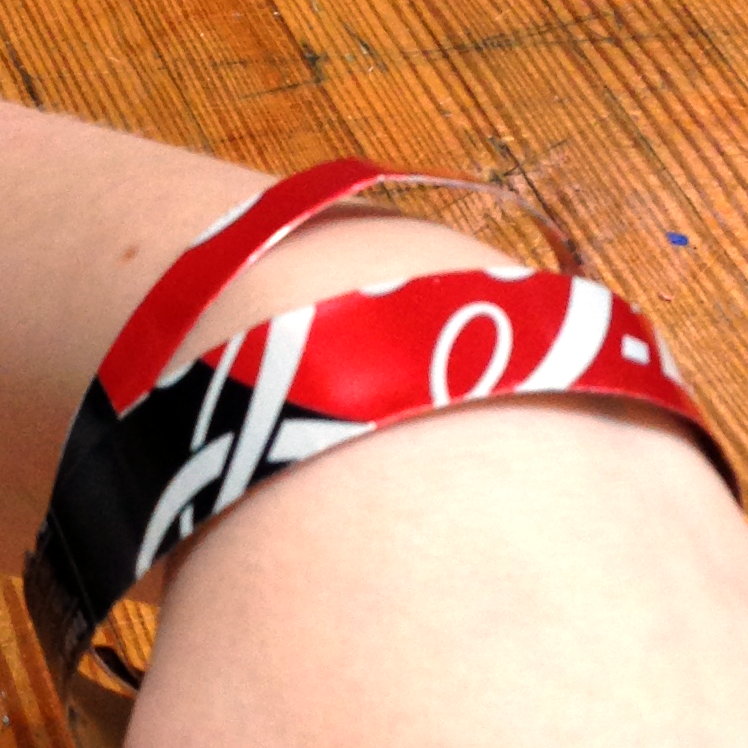
To make a "buckle" for holding the ends of the bracelet in place, just wrap a strip of can several times around the "belt." The other end of the belt can slip through the loops, making it removable. Like this:
The more tight loops you make, the more securely it will hold together.