
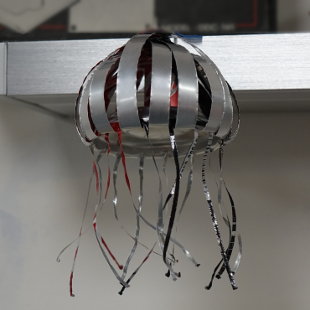
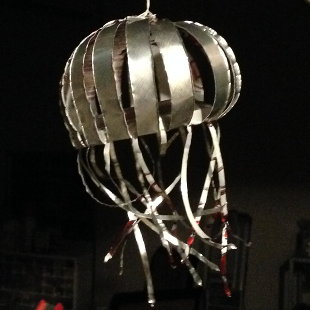
Imagine the corner of your room filled with six of these, lit in multiple colors, hanging from the ceiling. It's the best night light ever.
First, make a 16-slice can. Cut off the top. Extend the strips; but be sure to pull gently away from the center point in radial lines; you don't want your strips pointing in funky directions.
Then tape the first elevator and second elevator together to make a square hole in the center. Place the tips of the strips over the square hole and punch a hole with the pushpin; and then enlarge the punchhole later to toothpick-diameter with the thumbnail/punch.
You can arrange the sides in different patterns. For example, in one picture above, I overlapped one over its neighbor traveling around in a circle. In another, I lifted opposite sides against each other in an "X" pattern. It's a matter of personal preference.
Regardless of how you do it, ideally the pushpin holes should be at staggered heights [lowest, medium-high, medium-low, highest] about 1.5 millimeters between heights. You'd attach the lowest strips first, then, the medium-high, then the medium, then the highest. This way, the jellyfish takes on a smoother, more rounded appearance; and you don't have to stretch the strips as much to have the holes meet at the toothpick. [For simplicity's sake, I neglected this step in the video].
Then unfurl the stingers gently and shape them to extend downward.
Hang from your ceiling with dental floss and a pushpin.
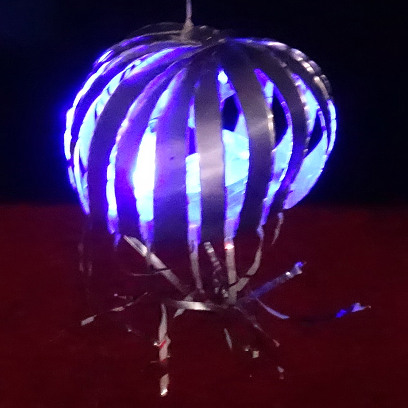
Insert a blue, battery-powered LED light for a spookier look (or put a glow-in-the-dark object in the center well and hang the jellyfish near a window).