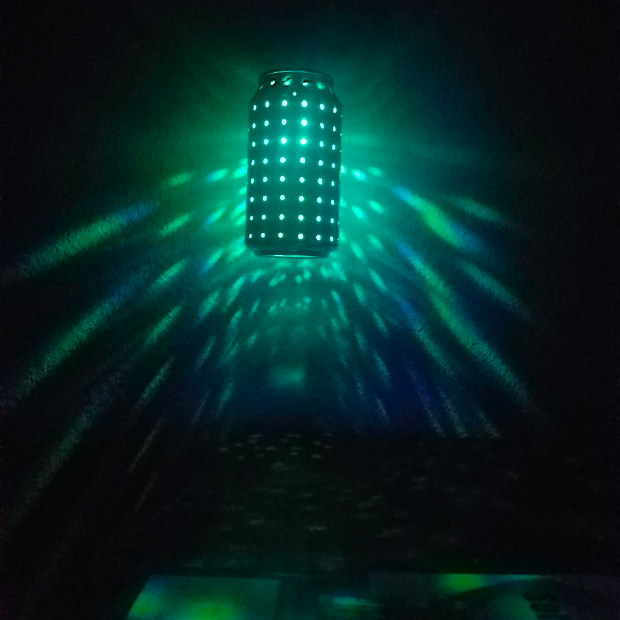
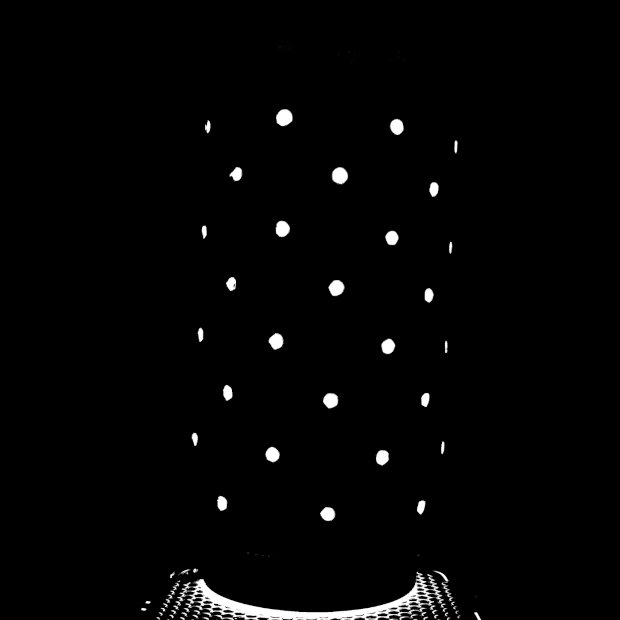
The videos and photos don't do this justice. The colors are brighter and more vivid to the human eye in a dark room.
Also, the process of popping holes in the can is fun too; it's better than bubble wrap!
These are so easy to make, even a 10 year old can do it.
This one is as easy as it looks — you just poke holes.
Note: the video above is out of date
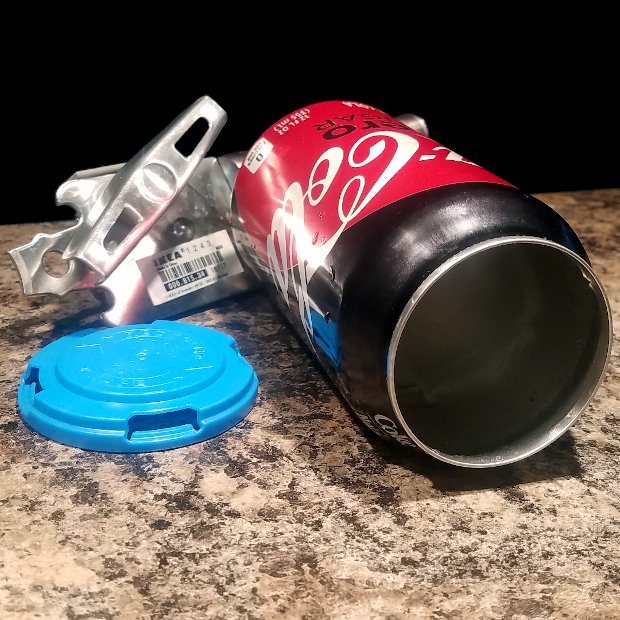
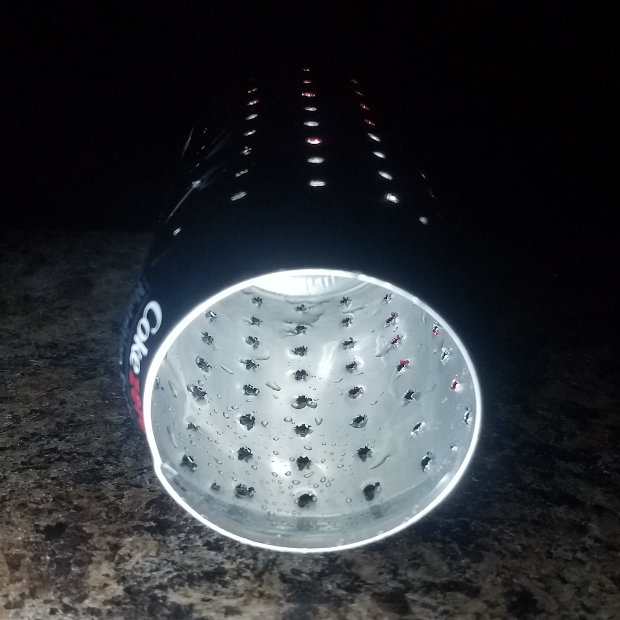
Before putting holes in the top or side of the can, you'll want to put an array of holes in the (inverted-dome) bottom. I prefer a square or hex pattern that has a center hole:

We start with the bottom surface because it's the strongest part of the can. The can's bottom will need to take a lot of impact force, so you'll need the can's side to be strong. You don't want to weaken the entire can-structure by first poking lots of holes in the can's side. If you did, the can could collapse on itself (or bend out of shape) as you hammered-in your bottom holes. It's best to leave the can up-side-down in the Aluminator while you punch it, so the Aluminator can help brace the can's side.
To make your bottom-holes, you'll just use a hammer to nail-in (hammer-in?) a nail until it pokes through and makes a hole. If you have the finger-and-hand strength, I recommend making pushpin holes first. These starter holes will be easy to enlarge when you punch-in your larger nail-holes. The trick to making the pushpin holes is to twist the pushpin tip clockwise-and-counterclockwise (i.e., back and forth) under pressure over the same spot until the material abrades-away enough for the tip to push-through.
Next you'll want to make a ring of holes around the top of the can, where the can flares from the lid to reach the side wall of the can. There's nothing complicated about this, and the video above shows how to make these holes.
For the top of the can, you have three choices: (i) leave the top intact, (ii) enlarge the mouth of the can so your LED can be passed through, or (iii) completely remove the top and replace it with either a plastic lid or another glued-on metal can-lid. If you choose to keep the metal lid of the can in place, and if you also choose to make holes in it, you'll need to be more gentle with it than you were with the can's bottom. So I recommend that you make starter holes, using a pushpin, before hammering-in your nail to make holes. If you're using a plastic lid, then of course you don't need any holes at all; the entire top will glow.
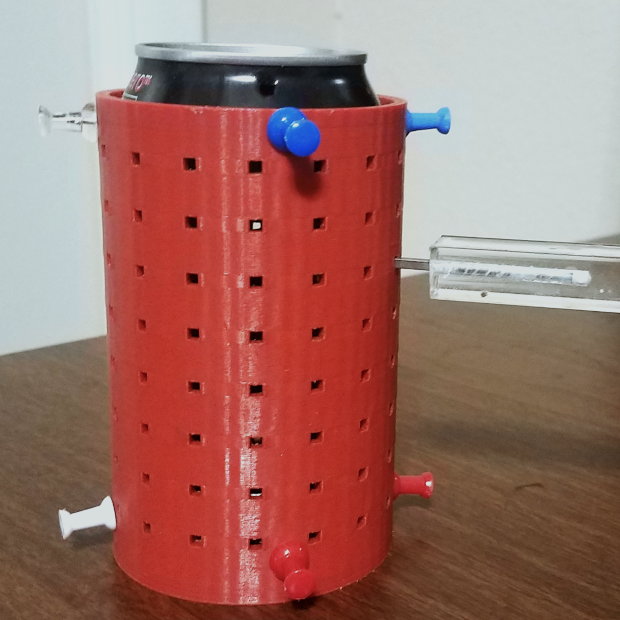
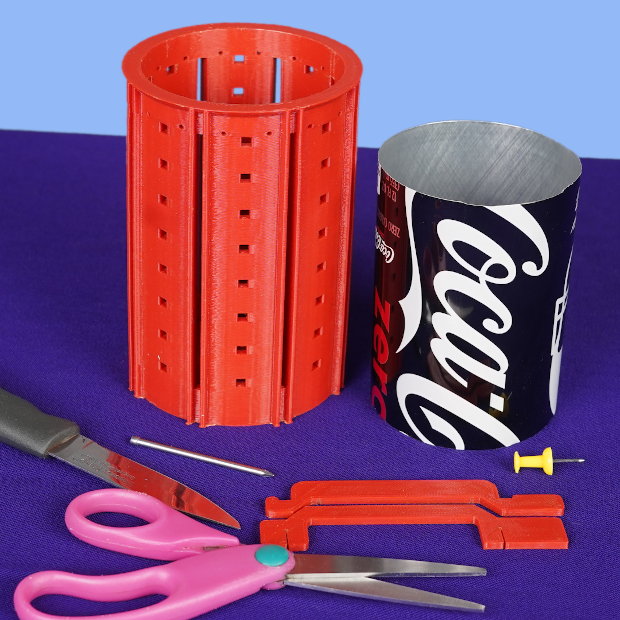
When making holes in the side of the can, the technique is different. You'll want to put pushpins in the top and bottom of the Aluminator all around its circumference, like so:
This way, the sides of the can will be held taut as you punch, making the finished sides smoother. Be careful when you're punching holes in the side of the can that's closest to the lid or bottom. Since the material there is tougher, it's easy to dent as you're applying more force.
For the bottom ring of holes, you might want to start with pushpin holes before enlarging them with your slider or nail. Making starter holes is a good technique generally, if having pristine sides is your goal. It puts less strain on the can as you punch, so you're less likely to dent it in. On the other hand, it adds to the time and effort needed to complete the project.
You'll notice that two of the Aluminator designs do not have a grid of sixteen columns of holes.
For those, you'll need to rotate the can by a half-panel one or more times in order to complete the grid. To do this, first insert the can in the Aluminator. Then insert pushpins in adjacent holes in the Aluminator's upper ring of holes (each, a "sleeve-hole"). Then remove both pushpins. Lift up the can a few millimeters so you can see both holes that you just made in the can (each, a "can-hole"). Rotate the can 22.5 degrees until the second can-hole is above the first sleeve-hole. Reinsert the can in the Aluminator. Gently use a pushpin in the first sleeve-hole to find the second can-hole. When they are aligned, reinsert the pushpin in the first sleeve-hole and through the can. Then insert a pushpin in the second can-hole (and more can-holes) to better anchor the can in the sleeve, since the original two can-holes may now be a bit loose.
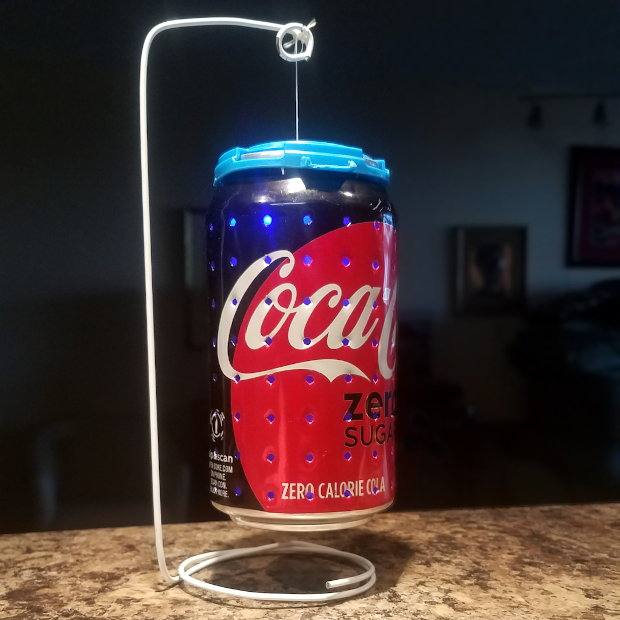
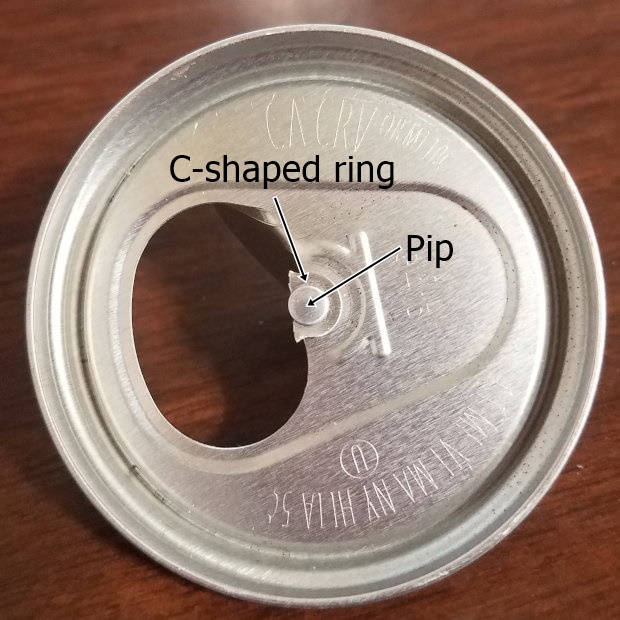
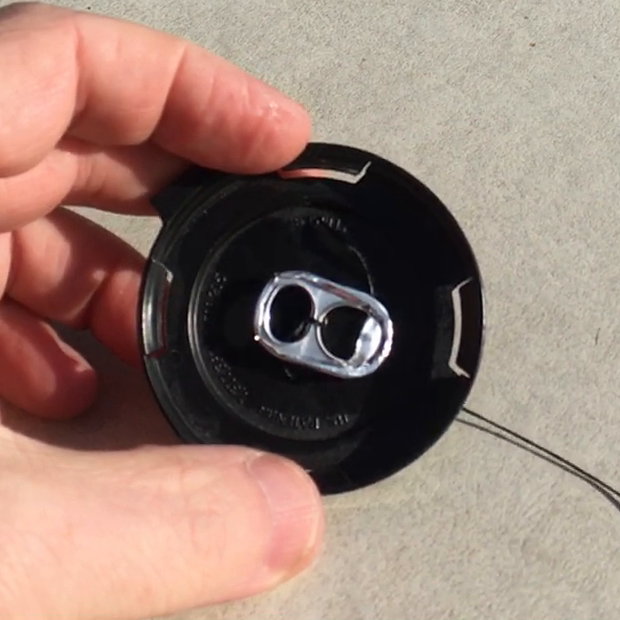
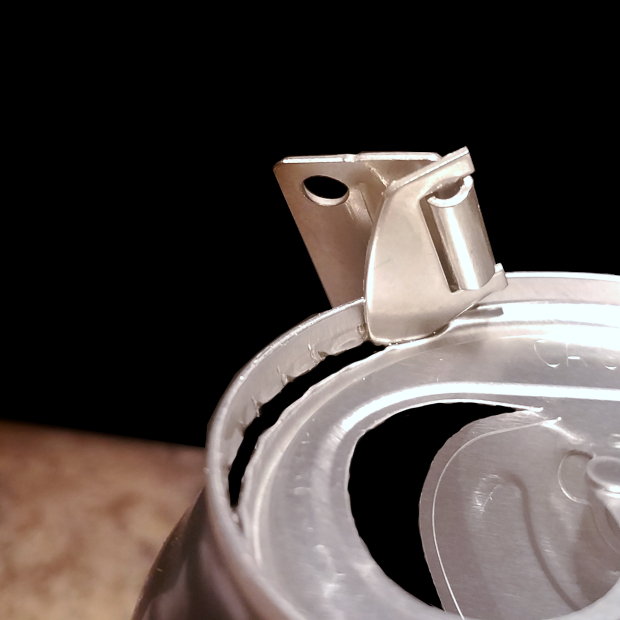
Here is a simple way to hang the can so it rotates freely. Remove the tab by rotating it back and forth across its range of motion until the metal fatigues and it snaps off (or partially off) by itself.
If you do it slowly and carefully, then only one side of the connected tab will crack; then you can use the tab itself to lift off the C-shaped ring around the center pip. If the tab separates completely, you can rotate the C-shaped ring so that one edge hangs over the mouth of the can; then lift the hanging edge up with the tab of the can so it pops off.
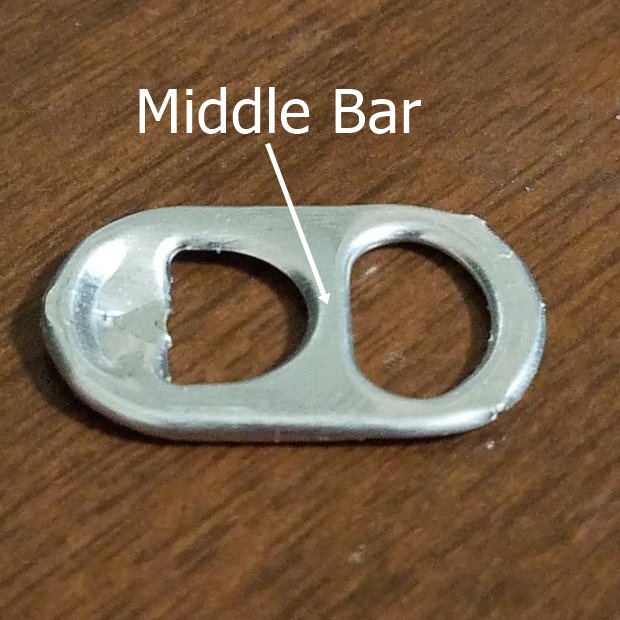
Then use a pushpin or nail to poke a hole in the very center of the top of the can where the raised pip is (or, if you've completely taken off the meta lid with a can opener, in the center of the plastic top). Thread dental floss or black thread through it (preferably multiple strands). Tie the end of the string around the middle bar of the tab.
Reinsert the tied tab through the open mouth of the can lid so it will lie flat against the lid as it hangs. Then, of course, you'll tie the other end of the floss to the thing from which you're hanging the disco light. For example, you could twist a wire clothes hanger into an appropriate shape, or make a wall bracket, or tie it to a necklace, or hang it from a ceiling fan pull-cord or tree branch, and so on.
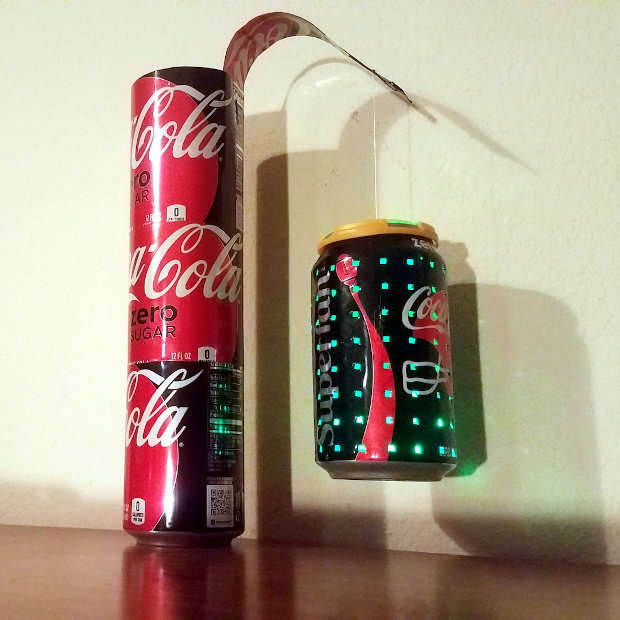

If its shape is suitable, the LED light could later be hung from the internal tab as well. The light will cast a better pattern if it is positioned in the upper center of the can. Then, as you manually lower it to the bottom of the can, it will create a cool dynamic effect (namely, the rings of light squares spread outward).
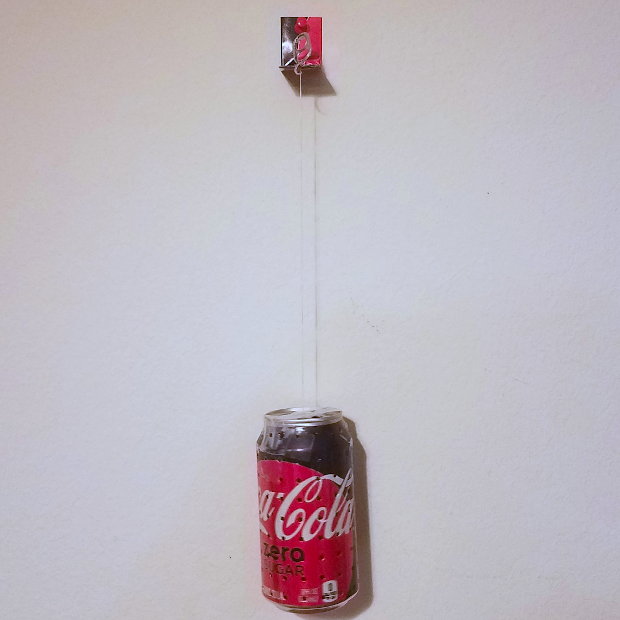
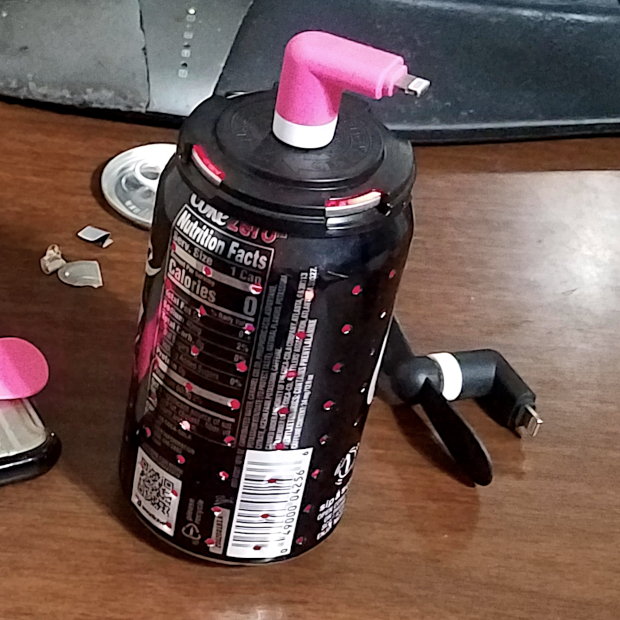
If you try to tie string directly to the tab of the can, without removing it from the can, the tab might break off with hard use, since it is not securely attached to the can. Accordingly, if strength and beauty are important, consider replacing the tab with a picture hook like this:
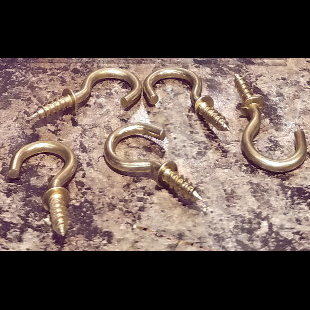
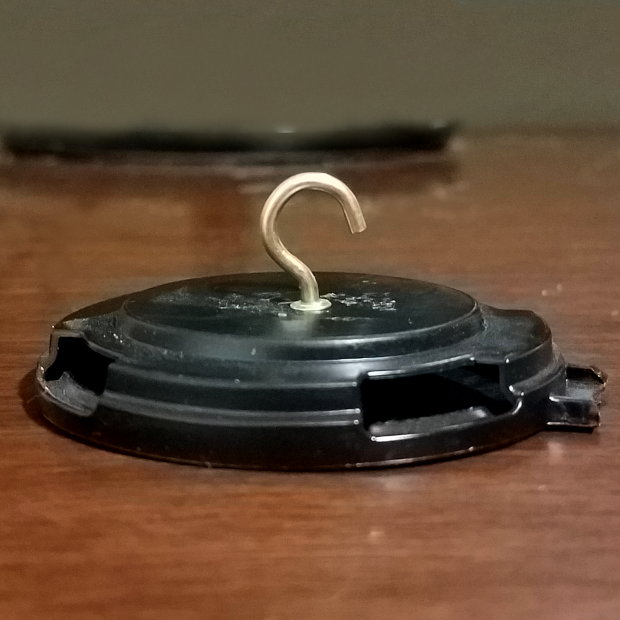
When you screw-in the brass picture hook, be careful not to overtighten it or the hole will expand too much and allow the hook to spin freely in the hole — instead of being held tightly against the pip. To better secure the hook, you may want to consider using hot glue, superglue, or a "nut" made of plastic straw segments on the reverse side to lock it in place.
You might also want to transform the disco light into poi which you can spin around.
What you see above as white squares when the poi is at rest is actually flashing red-blue-green very rapidly. You can see the colors "separate" due to the motion.
Swinging the poi places a lot of strain on the hook. I made my poi durable by using picture hanging wire locked around a brass picture hook which, by using pliers, I had pinched into the shape of a closed loop.
Sometimes the drink-hole in the top of the can is too small to insert your light directly. You can enlarge the top using the slider as shown in the video. This takes a lot of bit of force, and you have to angle the slider so it hits the wall at about a 45-degree angle before pushing-in. It might be easiest to just open the lid with a can opener.
The blue light you see in this photo is a finger-mounted LED. The strap is wrapped loosely around the up-turned tab.
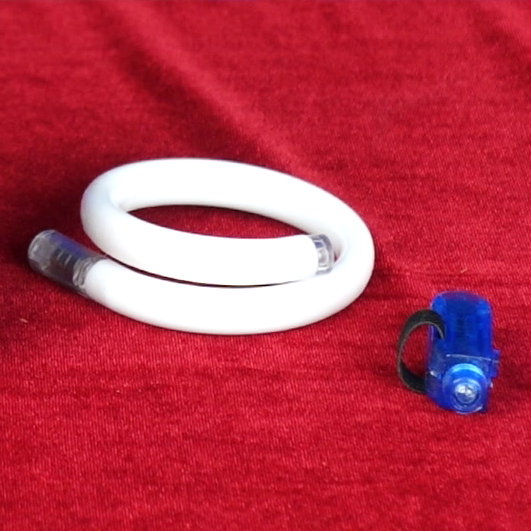
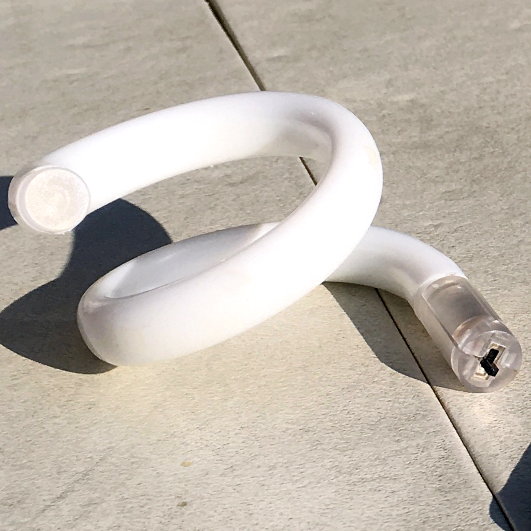
The flashing red-green-blue light is a LED bracelet that I twisted inside the can in a helix shape.
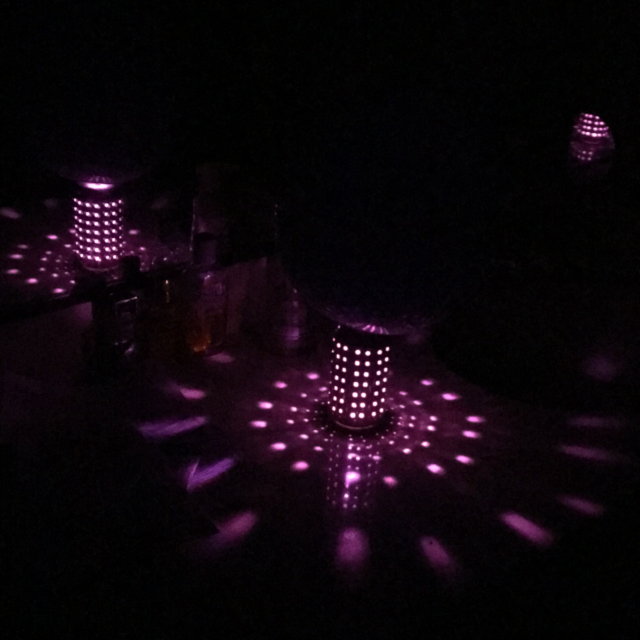
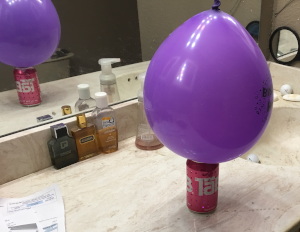
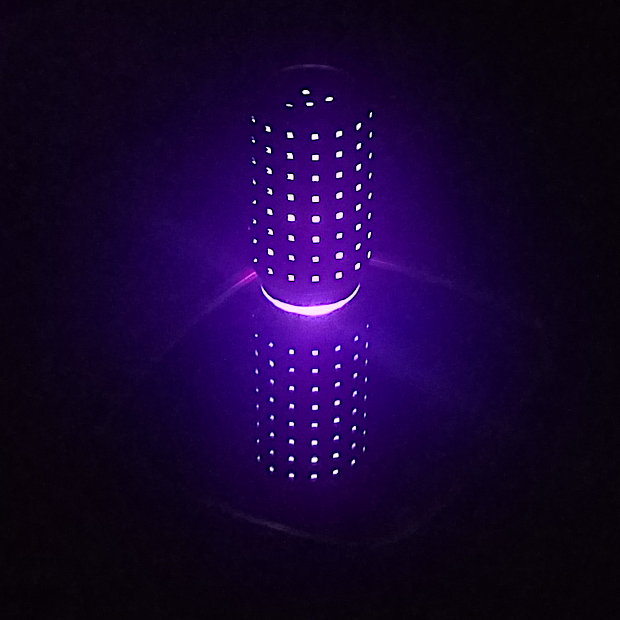
The purple LED in the photo came from a light-up balloon I bought at Walmart, inverted, and threaded through the can's tab. These LEDs only last about a day, and they don't have rechargable or replacable batteries. These next two photos are nearly identical, except that one was taken in the dark.

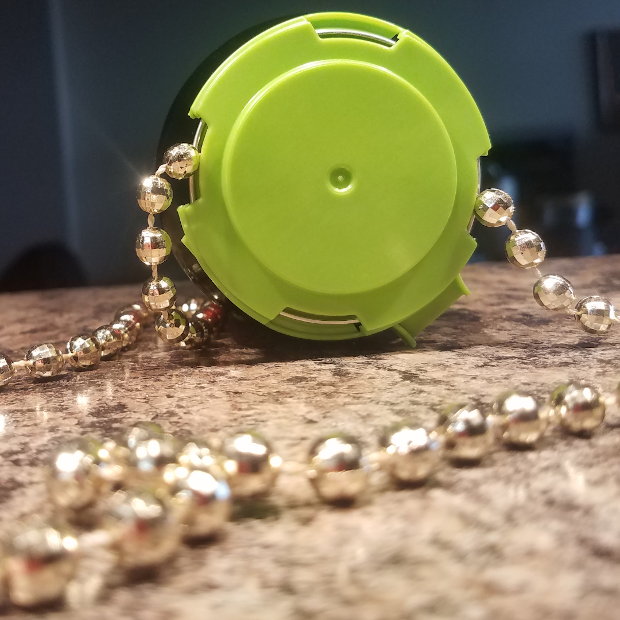
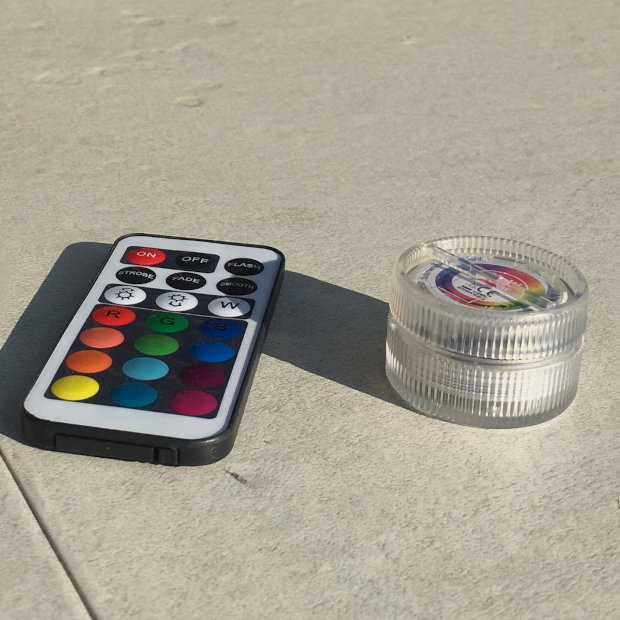
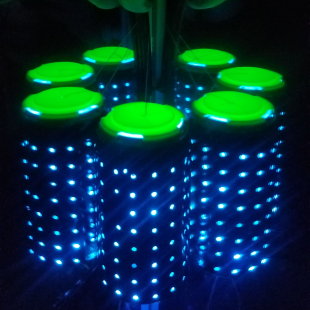
The hangable, remote-control, color-changing, submersible LEDs I bought here on Amazon for a couple bucks apiece.
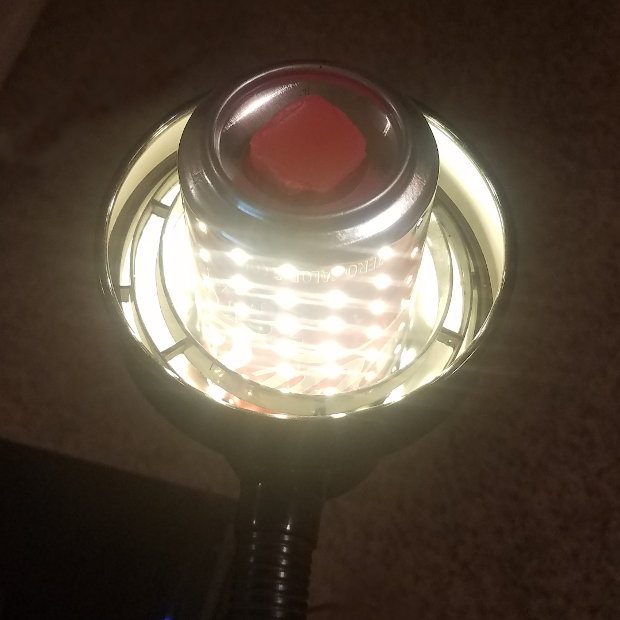
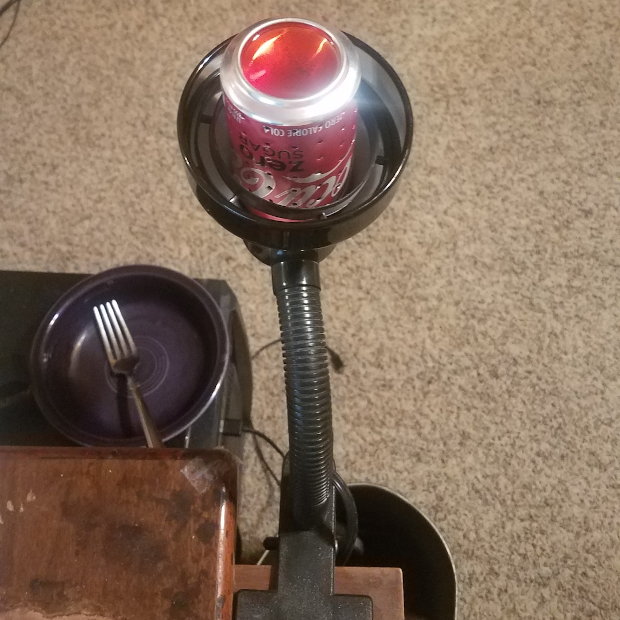
You can also light it up by mounting it to an ordinary flashlight.
You can shine your phone's flashlight from the top or bottom.
You can pull the propeller off a cell-phone powered fan and substitute the iCan Party Light.
You get interesting effects by placing it on a mirror, sandwiching it between two mirrors, or hanging it near a wall.
You can light it up with tea candles or table lamps, too. Note that in the second one, I've put fragrant hot wax cubes in it to smell up the room.

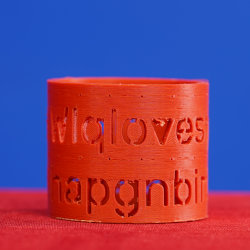
If you're wanting to write words or drawings on the side of the can with holes, so that they light up with your message, that's easily done. You don't even need to use the Aluminator, unless you want to add a grid of holes.
First write your message in marker on the side of the can where the dot-lettering will be punched. Or stick a sticker on it to use as a poking template.
Then remove the top lid by using the can opener. Cover your fingers of your nondominant hand with a protective fabric-like shield (e.g., towel, rag, newspaper). Then use your protected fingers to brace the inside of the can near to where you'll be poking. Your fingers will keep the can's metal from deforming or denting as you poke your holes.
Then poke your holes in your letters or drawings. Take care to hit the endpoints of the letters first, and make the dot-spacing a bit closer together where you have curves. I make two kinds of holes using my pushpin. The first is a normal hole, which I make by fully penetrating the can with the tip and shaft of the pushpin. The second kind is a smaller pinpoint hole, which I make by barely punching-in the tip.
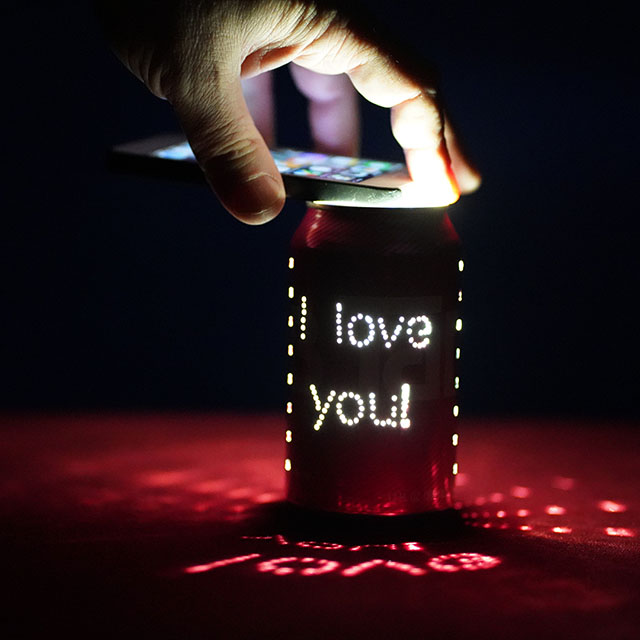
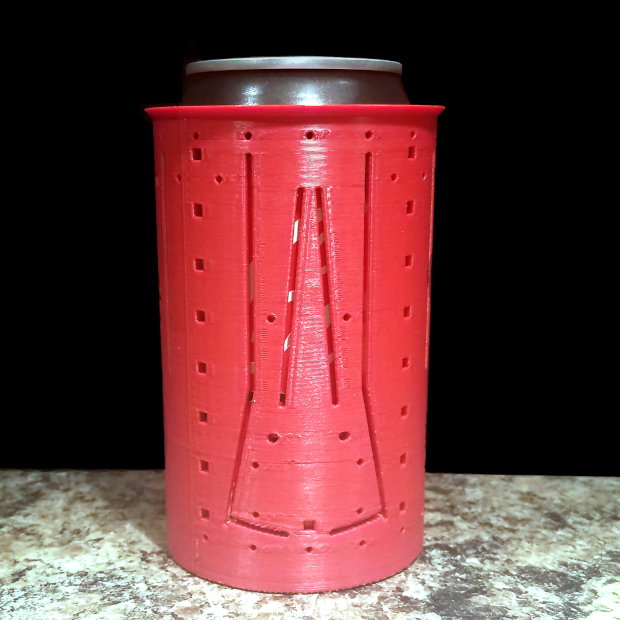
If you want to to turn the can into a projector, then you need to punch the mirror image of your letters in the can. Then open a hole in the back wall through which you can shine a pinpoint light source, like a cell phone flashlight, or a very bright single LED. Then cast the image against a wall. You can kind-of get the idea of the effect by looking at the negative shadow cast in the "I Love You" photo above.
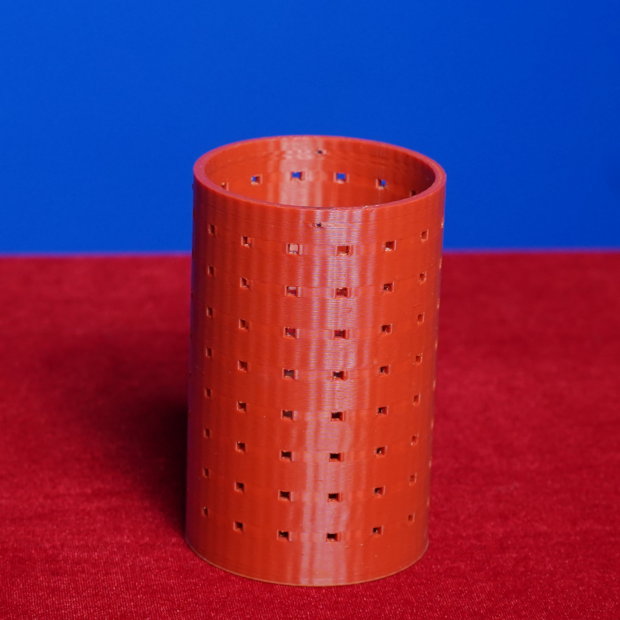
Younger people might want to use a 3D-printed stencil like this, if freehand punching is too difficult:
The iCan Party Light probably can transform into a floating (sinking?) pool light (or supervised bathtoy?), too. I recommend trying it out using one of the submersible, LED, RGB remote-control lights shown above. You may be able to make a less fancy one by enclosing your LED in a ziplock bag before dropping it in the can. If necessary, add pennies and/or ping pong balls to the can to maintain its vertical alignment as it floats.
The iCan Party Light makes a great nightlight for a kids room or hallway, too.
If you work in a dimly-lit bar, the iCan Party Light makes an attention-grabbing tip jar that you can light up to say "thank you" with your remote control.
LEDs are cool, small, and very portable; but their batteries expire; and they are somewhat expensive to replace regularly; and it's difficult to find rechargeable batteries in the small/flat size you'll need (assuming you even have the right recharger).
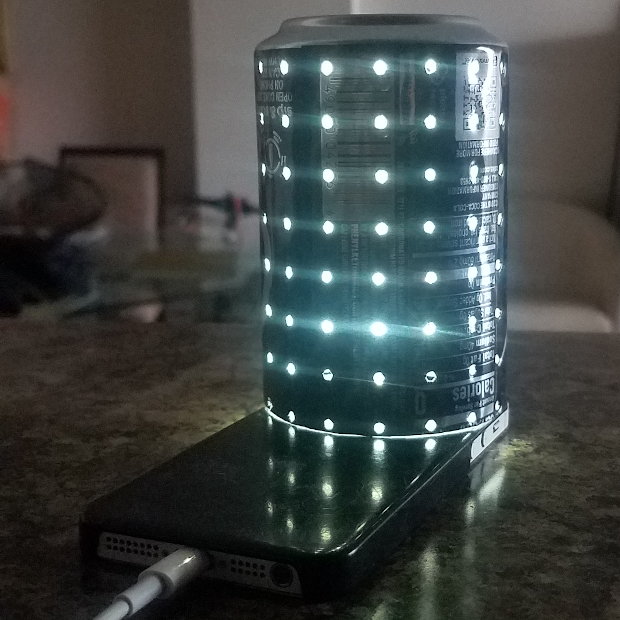
So consider using an old cell phone as a color-changing light. A phone can plug into your laptop's USB port or a wall. If the phone's battery still works well enough, it can be free-standing.
You simply place an upside-down can on top of the phone.
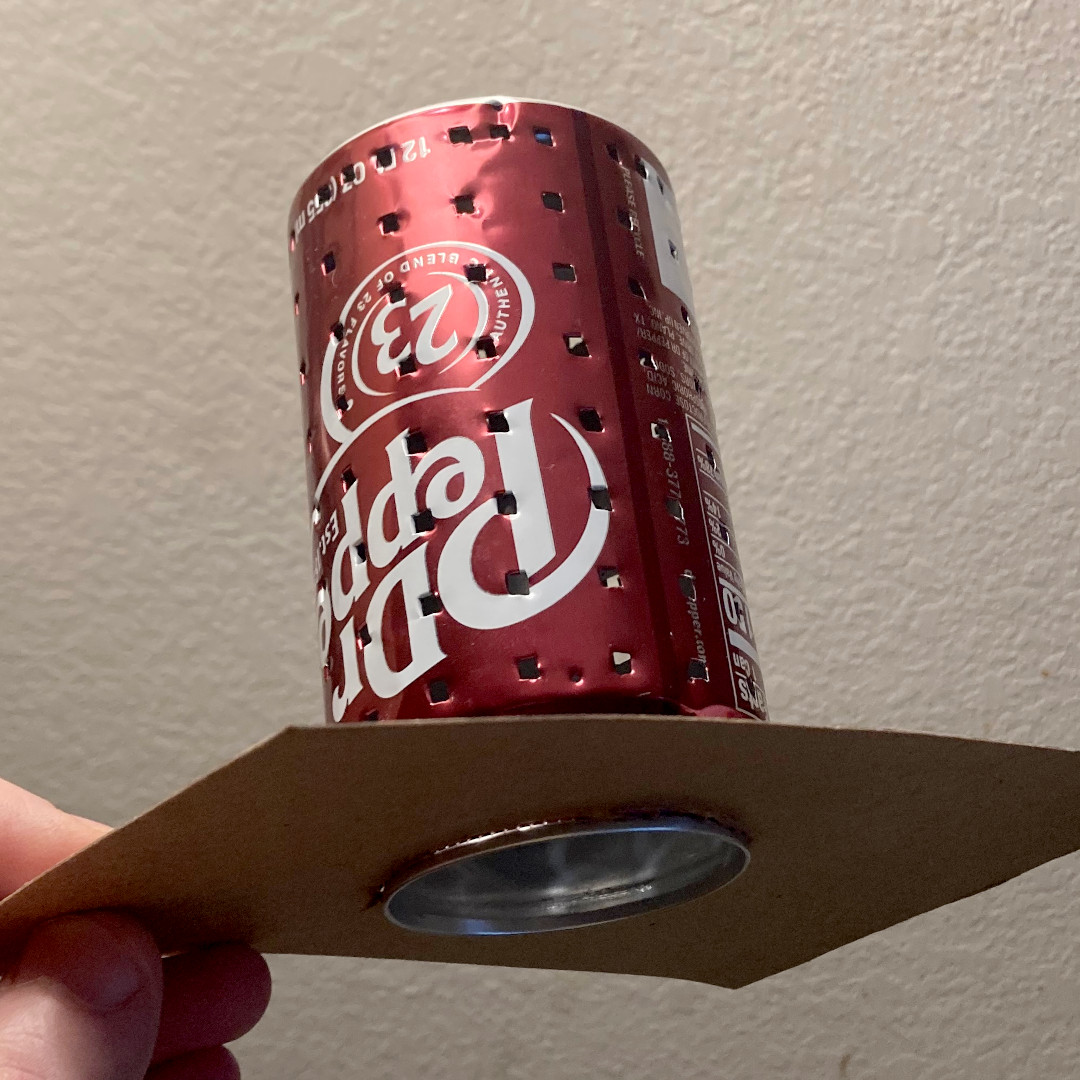
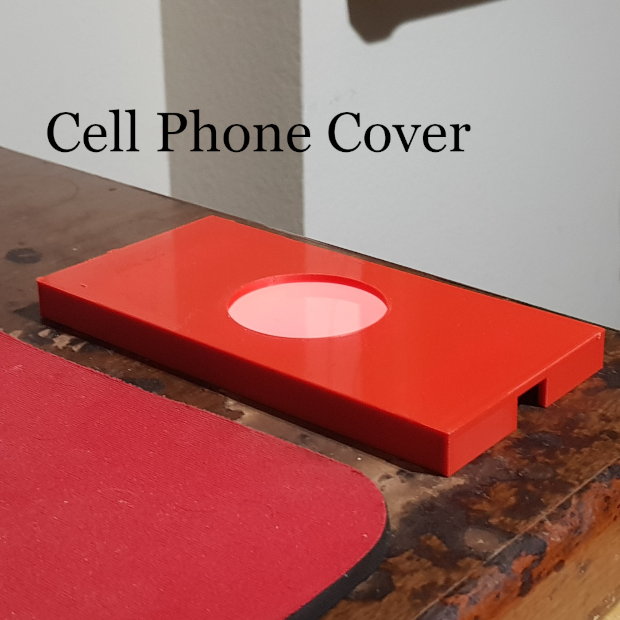
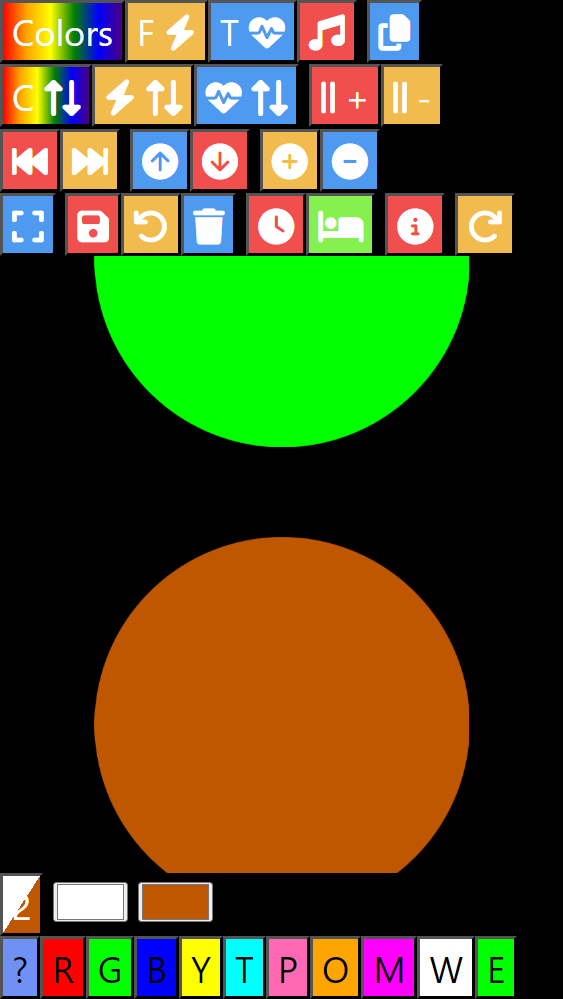
This link will take you to a web-page I made that lets you use your cell phone as a LED substitute. It will cause the phone's screen to display one or more dynamic, lit, colored circles.